Many hardcore computer users might think themselves above learning new
tricks, but there's always new things to learn that will help improve
your skills. Our bet: you will find at least one useful thing here that
you didn't know before. Inspired and with the help of this
AskReddit discussion,
we’ve compiled some of the most handy computer tricks you might not be
taking advantage of. Our ultimate goal is to help you become more
productive by shaving valuable seconds off your workflow. Of course, you
can always pass along these tips to your not-so-savvy friends and
family members to help them become better PC users as well.
General Tricks
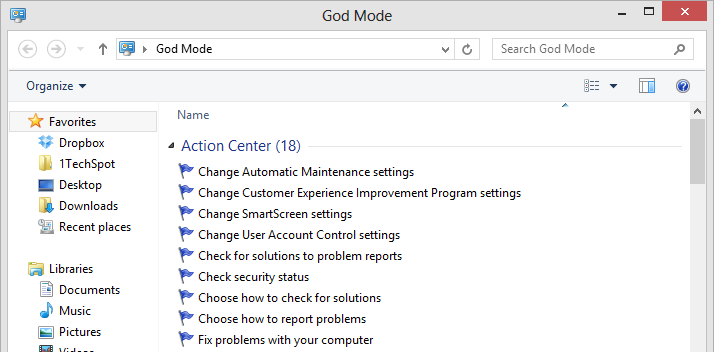
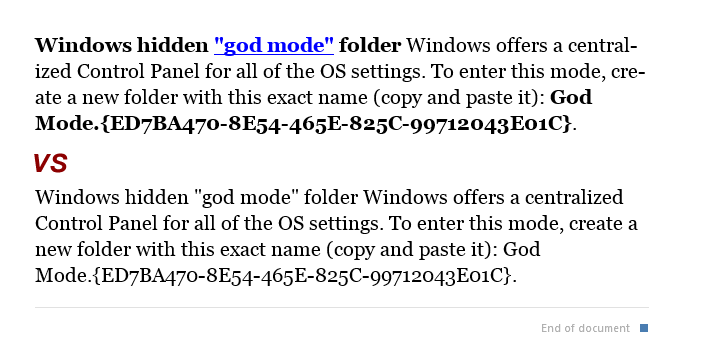
Windows hidden "god mode" folder
Windows offers a centralized Control Panel for all of the OS settings,
which makes it easy for users to tweak everything from desktop
background to setting up a VPN. To enter this mode, create a new folder
with this exact name (copy and paste it):
God Mode.{ED7BA470-8E54-465E-825C-99712043E01C}. The folder icon will change to a Control Panel-style icon, and you will be able to jump in and change all kinds of settings.
Note: Don't try this on Windows Vista 64-bit as it's known to cause a reboot loop.
 Use Problem Steps Recorder
This handy tool automatically records any mouse clicks and takes
screenshots for you. If you need tech assistance with your computer, go
to Run by typing Windows + R, and then type "psr." Use the tool and by
the time you are finished, you can send this information, neatly
compiled automatically, to the person helping you with the issue. It
will make the process of finding the problem much easier for them, which
means you will be able to get your system up and running faster.
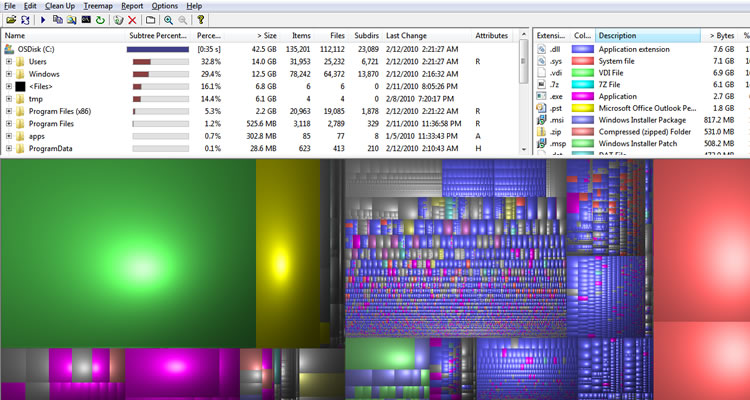
Find/Delete large files wasting space A handy tool called
WinDirStat (Windows Directory Statistics)
can be used to easily find which files and folders are taking up the
most space on your drive. From there, you can delete them and open up a
ton of storage space.
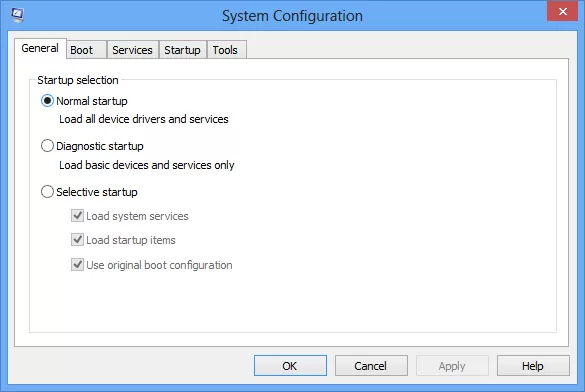
 Reduce the number of programs running at startup
If your PC is taking too long to boot, it’s probably because you have
far too many programs running at startup. Reducing this is easy, it will
make your PC launch noticeably faster and lighter upon first load. To
change the items running at startup, go to Run using the hotkey Windows
key + R, and type "msconfig." A small window will appear (see the
screenshot below), select the Startup tab. From here you will be able to
turn off many startup programs, which can shave several seconds (or
minutes) off your boot time. (Note Windows 8 has moved this
functionality to the Task Manager). Try to make sure you research what
you are turning off as some processes might be needed by third party
programs or drivers you have installed.
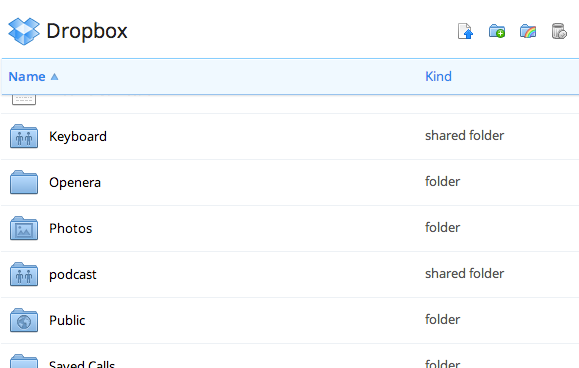
 Cloud backup important files
If you’re working on a critical paper for school, work, or any other
major project, make sure you are backing up the file not just locally.
You can use services like
Dropbox,
Google Drive, or
any
of the other popular cloud storage solution which will do the legwork
for you on the background. Of course, you can also throw the files on a
thumb drive or external HDD just to be safe but backing up to the cloud
can be done seamlessly which is twice the advantage.
Typing Tricks
Delete an entire word
Instead of deleting a single letter, pressing CTRL + BKSP will delete
the entire word behind the cursor. This makes deleting text quicker if
you screw up a whole word.
Move Cursor to beginning of the next or previous word
Moving the cursor around manually while typing is a great way to make
your work take longer than it needs to. To speed of the process, move
the cursor around with keyboard shortcuts. To move it to the beginning
of the previous word, use CTRL + Left Arrow. To move it to the beginning
of the next word, use CTRL + Right Arrow. In OS X you can accomplish
the same using the Option key.
Making sub and superscript text
If you need to make sub or superscript text (think exponents for
superscript), press CTRL + = for subscript and CTRL + SHIFT + = for
superscript.
Paste plain text of what was copied When you
copy text from any source, programs will usually copy any formatting
that comes with it. To paste this as plain text, press CTRL + Shift + V
instead of the standard CTRL + V, and the system will paste unformatted
text.
Note that many programs follow this parameter (Chrome,
Firefox, etc.) but not all, particularly Microsoft programs like Word or
Outlook. For those there's a few alternatives that go beyond copying
and pasting in Notepad:
1) CTRL + ALT + V will show a 'paste special' dialog box.
2) CTRL + Spacebar will remove formatting in already pasted text.
3) Download
Puretext and choose a hotkey to always paste plain text with it.
Keyboard Shortcuts
Copy only active window to clipboard
Normally, the Print Screen key copies the entire display (or two
displays if you got them), ALT + Print Screen only copies the currently
active window to the clipboard. Whether taking a screenshot to diagnose a
problem, or just because you want to show something to a friend, this
will come in handy.
Fix those little mistakes Did you know
you can undo almost any action? CTRL + Z is the ultimate hot key, and
for sure you knew about it already, however note that undo doesn’t just
apply to typing. If you accidentally delete or move a file, you can hit
CTRL + Z to bring it right back to where it was. In Chrome and Firefox
you can also undo closing a tab using CTRL + SHIFT + T.
Cycle through open windows
Pressing ALT+TAB allows you to cycle through currently open windows.
This makes switching back and forth between running processes quick and
painless. If you want a more stylish method of cycling through open
programs, Windows + TAB will do the job for you.
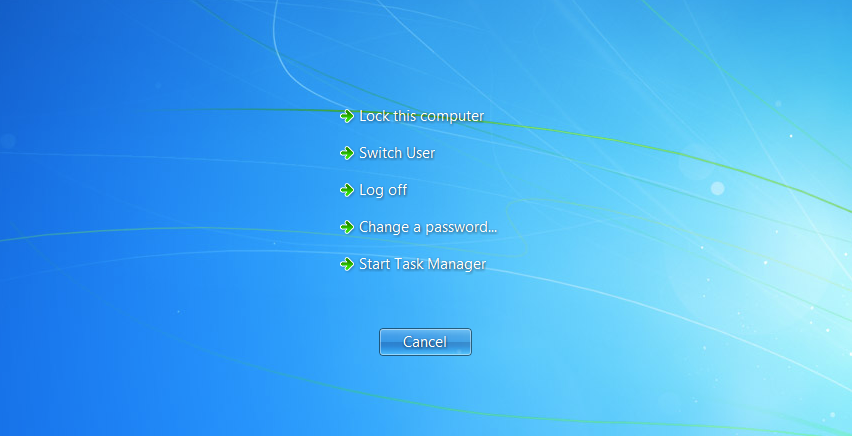
Interrupt all processes
CTRL + ALT + Delete is one of the most common PC shortcuts, and one
almost everyone is familiar with. The important thing to note is that it
interrupts all processes, including the one that is bogging down your
system, which can mean the difference between needing to restart or not.
 Close the current program
Typing ALT + F4 will close the program that is running. This is useful
as it saves you time mousing over the "X" and clicking. People will
often use this as a joke, telling you to press ALT + F4 to fix a
problem. Don’t fall for it unless you want to close what you are doing.
Minimize all windows
Sometimes you have a bunch of stuff running, and you want it all to go
away so you can get to the desktop. Simply pressing Windows + D will
minimize everything you have up, which will save you some time pressing
the minimize button for each window. It should be noted that Windows + M
offers similar functionality, but there is no undoing, so Windows + D
is the more favorable approach.
Open the task manager directly
If you want to bypass the interrupt that happens when pressing CTRL +
ALT + DEL and jump right to the task manager, typing CTRL + Shift + ESC
launches it directly.
Close the current window/tab Stick
of moving all the way to that X button? Press CTRL + W and the current
window will close. (Don’t do it now, or you will miss the rest of the
tricks!)
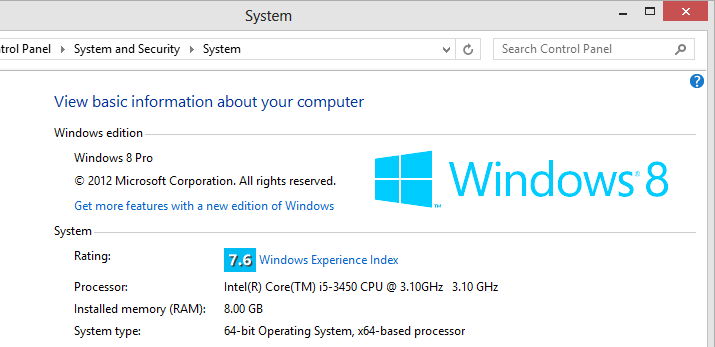
Bring up the system information window This is so
much quicker than digging this out the traditional way... Just press
Windows + Pause/Break and the System Information panel will be ready to
go. This might be the only use for the Pause/Break key you will ever
find, so enjoy it!
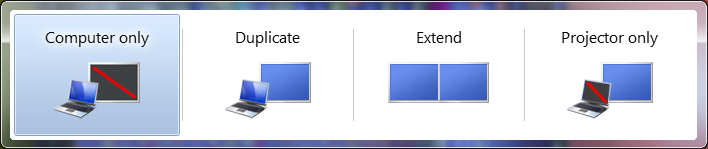
 Better multiple monitor control
There are several useful keyboard shortcuts for controlling open
windows on multiple monitors. Pressing the Windows Key + Arrow Keys will
cause a window to quickly snap to each side of either monitor.
Alternatively, hitting Shift + Windows Key + Arrows will cause the
window to jump to the other monitor. Lastly, pressing Windows + P will
allow you to quickly set up a second display or projector.
Web Browsing Tricks
Automatically add www. and .com to a URL
You can shave off a couple of seconds typing in a URL by simply click
CTRL + Enter after you type the name of the site. Need .net instead of
.com, press CTRL + Shift + Enter instead.
 Jump to address bar
There are a number of ways to jump right to the address bar from
anywhere in browser. Pressing CTRL + L, F6, and ALT + D all accomplish
this goal.
Bring back a closed tab We covered this
already, but it's super useful. Accidentally closed a tab? Simply press
CTRL + Shift + T to reopen the most recently closed tab and get back to
what you were doing.
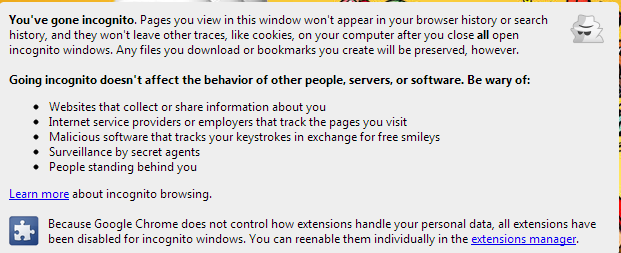
Use private browsing The uses for not
having cookies and history saved are obvious for certain activities,
you know, like shopping for gifts on a shared computer (of course!).
Pressing CTRL + Shift + N will launch a new private in Chrome, CTRL +
Shift + P will do it in Firefox and Internet Explorer.
 Cycle through open tabs
Pressing CTRL + TAB while in a browser will flip between each one. This
can be much faster than moving the mouse and clicking on a tab. CTRL +
NUM (1, 2, 3, 4, n..) will also take you to certain tab in that numeric
order.
File Management Tricks
Rename a file quickly
Right-clicking and selecting rename is not very efficient. Instead,
simply press F2 while a file is selected to change its name. To alter
the name of another file, type TAB without deselecting the current file.
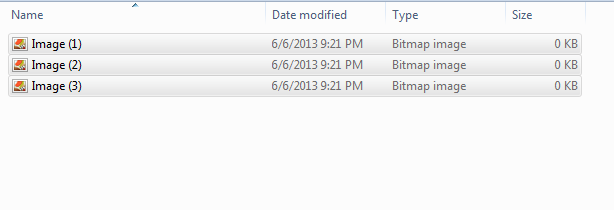
Rename files sequentially in Windows
You actually don’t need to download any programs to perform a batch
file rename in Windows. Instead, you can select all the files you want
to change, right-click the first one in the list, select rename (or use
F2), and type in the name. This will automatically change all the other
files with the same root name with a suffix: (1), (2), and so on.
 Select multiple files using the keyboard
To select a bunch of files using your keyboard, you can press Shift +
down arrow to select a single file or Shift + Page Down to select a
large group of files at one time.
Security Tips
Run programs on an infected PC
Often times, malware will prevent a computer from running certain
programs. Changing the name of the .exe file can often override this. If
that doesn’t work, changing the extension to .com is another useful
alternative, and the program will still be able to run in spite of the
extension change.
Read installers Even major programs can
install toolbars and other unwanted pieces of software during
installation. Take a few seconds to read each step to make sure you are
not agreeing to install something other than the program you were
actually seeking. Far too often people just push next over and over, and
end up with a browser covered in various search bars that just aren't
needed. In the worst of scenarios, these can have nefarious intentions.
Lock your computer if you get up
Sick of your "friends" going onto your computer at work or home and
posting things on your Facebook/Twitter page on your behalf? It’s
certainly an annoyance, but an easy one to prevent. Windows + L will
lock your system right away, requiring a password (if you've set one) to
log in again.

Program-Specific Tricks
Photoshop: Drag the marquee without losing the ability to size it The marquee tool is, at its most basic level, designed for selecting a part of an image. It’s used constantly in
Photoshop,
and there is a handy trick many users miss. While dragging it around,
you can press space, which will allow you to size it while moving it.
This saves time by letting your perform two key functions at the same
time.
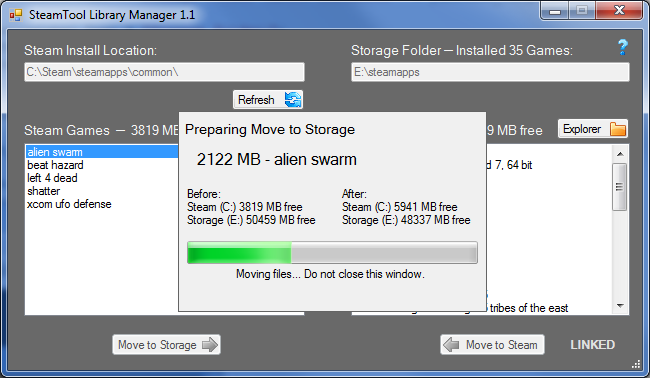
Steam: Move games to another drive or partition By default,
Steam installs all games to the same HDD or partition, but what happens if that fills up? The solution: download
Steamtool Library Manager. It makes it easy to move games to another hard drive without messing with the functionality of Steam.
 VLC: Fix unsynced audio and subtitles
 In the popular media player
VLC,
if your audio loses sync with the video or subtitles, there is an easy
way to fix this. Simply pressing J or K will move the audio forward or
backwards. Similarly, to sync the subtitles you can press H or G.

The
combination of using these tips and tricks on a daily basis will most
certainly make your computer life much more enjoyable, or at least more
practical. And so, did you learn a thing or two that you didn't know
before?


